Showing posts with label Cake. Show all posts

Wednesday, September 7, 2011

Goodbye Summer! =(

This time of year is bitter sweet for me.  I LOVE summer - vacations, boating, the ocean, laying out in the sun, spending time on the porch reading books under my umbrella... ahhhhh... love it.  I also love the transition to fall and the cool breezes, yummy fall foods, etc... but with fall comes WINTER - which I'm NOT a fan of.  I'll make the best of it though and have fun making some yummy mcyummerson recipes this winter!  Yay!  So, with my mind transitioning to fall recipes (already) I thought now would be a good time to say a sad goodbye to summer with a lemon/blueberry cake.  This cake is tart and sweet - a perfect combination of lemon and blueberries (and did I mention EASY? - because I use boxed cake mix and canned cream cheese frosting)!

Lemon Blueberry Cake with Lemon Cream Cheese Frosting

WHAT WILL I NEED?

Boxed lemon cake mix
Canned cream cheese frosting
1 small container of fresh blueberries
1 lemon
1/2 tbsp cornstarch
2 tbsp of sugar
1 tbsp of flour

Grease and lightly flour a 9x12 baking pan (or 2 8 inch rounds if you prefer). 
Prepare cake mix as directed on the box.  (I use just a tad more oil than it calls for).
Pour the cake batter into your baking pan(s).  Set aside.
In a separate bowl mix 1/2 of your blueberries with the flour - just getting a light coating of flour on the blueberries.  This will keep them from immediately sinking to the bottom of the cake when you bake it.
Drop the blueberries one by one into your cake batter.  There is no right way to do this - just try to distribute them evenly.
Bake according to the boxed mix. 

While your cake is baking, in a small bowl mix the 2 tbsp of sugar and 1/2 tbsp of cornstarch.  Mix well and set aside.  Heat a sauce pan over medium-high heat and throw in the rest of your blueberries and crush them with a fork.  As the blueberries begin to heat, add the sugar/cornstarch mixture to the crushed berries and stir well.  (taste the mixture to see if this is sweet enough for you - if not - now would be a good time to add more sugar!)  Remove the pan from heat as the mixture starts to thicken.  Set aside.  (Want to save even more time - just pick up some blueberry jam from your grocery store and use 1/2 cup of that instead!)

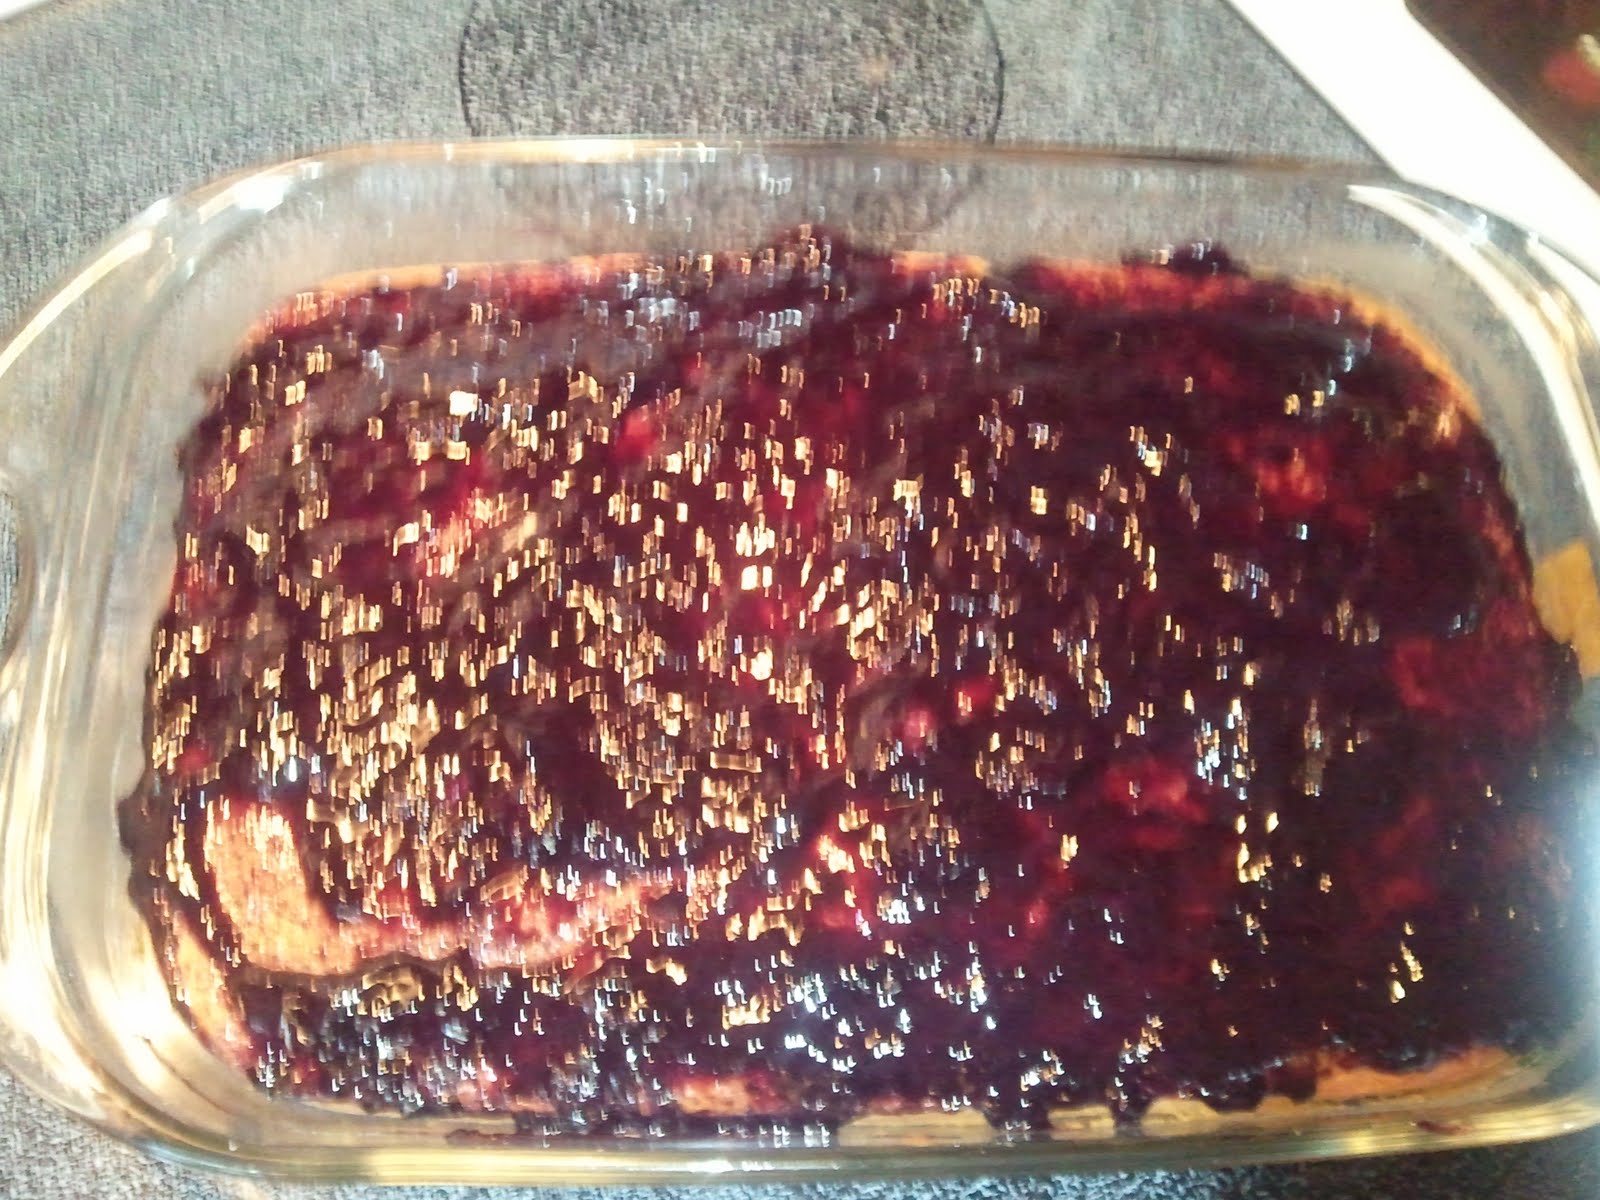
When you believe your cake is done make sure to insert a knife or fork in the cake to make sure it is done - as I had to bake mine for about 10 more minutes than the box called for.  Let the cake cool.  When the cake has cooled spread the blueberry mixture on top of the cake (dumping the entire mixture in the middle and spreading it out from there).

Now you are ready to make your lemon cream cheese icing.  In yet another bowl add the zest of one lemon.  Then add your cream cheese icing and mix well.

Now ice that cake!  Dump all of the icing in the middle of the cake and spread out carefully from there.  The blueberry mixture will start to mix with the icing if you aren't careful with your icing - though a little blue color looks neato!  =).


This is one of my favorite cakes!!  My husband keeps going back to the fridge to "square off corners" - haha!  Adios summer =(  But welcome to all of the yummo fall recipes to come!

What will YOU scratch out of the box today?

Comments, questions or suggestions?  Let me know by posting a comment below or find Scratched Right Out of the Box on Facebook!


Wednesday, August 24, 2011

Caketastic!

This tye dye cake is so fun it must be called Caketastic - yeah, I know it isn't a word, but it's fun!!  =)  I am posting this cake "how to" because I have been asked about it several times since I made it.

WHAT DO I NEED?

Any white cake mix (I use FUNfetti!)
Ingredients listed on back of cake box (eggs/vegetable oil)
Food coloring
6 bowls

WHAT DO I DO NOW?

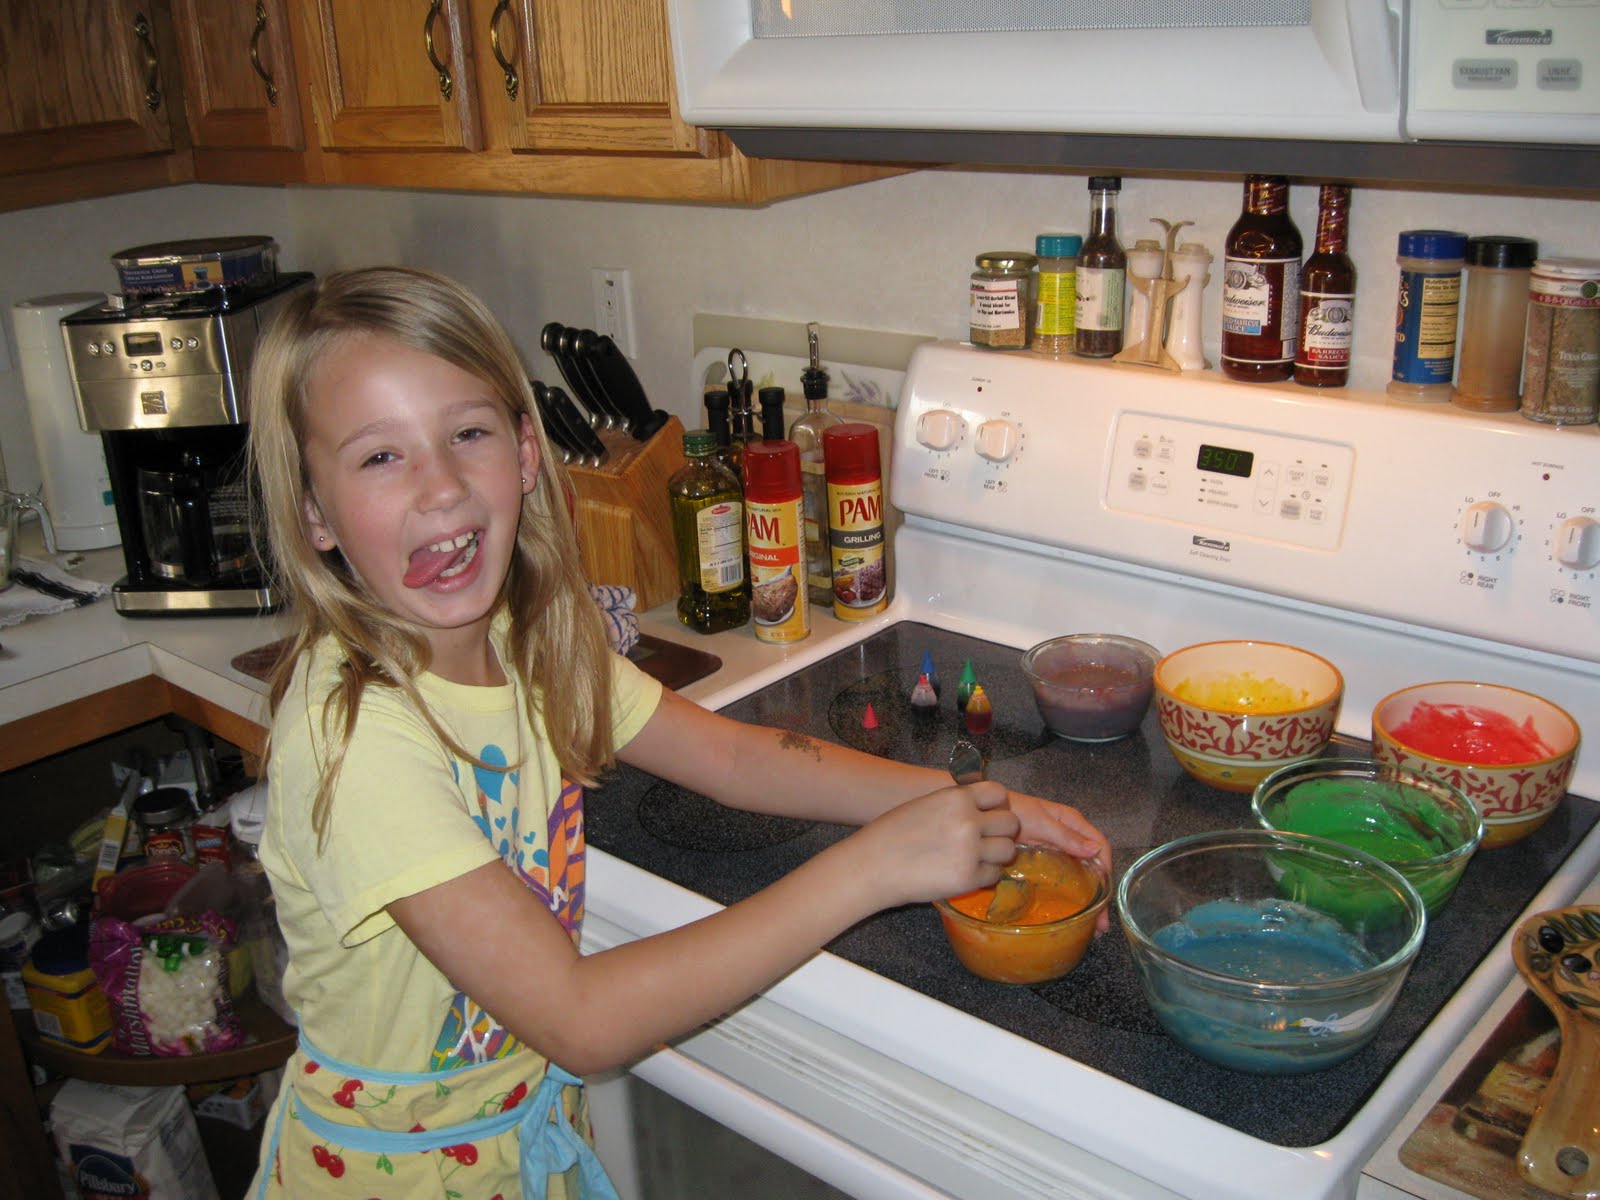
Prepare your cake mix and grease/flour your cake pan(s) as directed on the box. Separate the cake mix evenly into 6 bowls. Add food coloring to each bowl. Make the colors very vibrant. I make green, blue, purple, orange, yellow and red - but you could go with pastel colors or neon colors (you can find these in your grocery store or craft store). Now you can start adding the colors to your cake pan or pans. This cake can be made as a layer cake or a sheet cake - I have done both. The trick is to use a spoon and add the batter by the spoonful to the CENTER of the pan only. Do not pour the batter into the pan. Once you have completely added one color by the spoonfuls to the center of the pan, start with the next color adding that color by the spoonful to the center of your first color. If baking a sheet cake repeat with all colors. The batter will spread out to all colors of the pan by the time you are done. If baking a layer cake use three colors per pan. Bake as directed. Allow the cake or cakes to cool. Remove them from the pans and stack and/or ice them. Everyone will get a big surprise when they cut into this cake - lots of ooooos and ahhhhs!! =) This is a fun/easy cake to make that is VERY pleasing to the eye and a great conversation starter! 


Have comments, questions, suggestions, or a recipe you want me to try?  Let me know by commenting below.

Did you know Scratched Right Out of the Box has a Facebook Page!?