Wednesday, September 7, 2011

Goodbye Summer! =(

This time of year is bitter sweet for me.  I LOVE summer - vacations, boating, the ocean, laying out in the sun, spending time on the porch reading books under my umbrella... ahhhhh... love it.  I also love the transition to fall and the cool breezes, yummy fall foods, etc... but with fall comes WINTER - which I'm NOT a fan of.  I'll make the best of it though and have fun making some yummy mcyummerson recipes this winter!  Yay!  So, with my mind transitioning to fall recipes (already) I thought now would be a good time to say a sad goodbye to summer with a lemon/blueberry cake.  This cake is tart and sweet - a perfect combination of lemon and blueberries (and did I mention EASY? - because I use boxed cake mix and canned cream cheese frosting)!

Lemon Blueberry Cake with Lemon Cream Cheese Frosting

WHAT WILL I NEED?

Boxed lemon cake mix
Canned cream cheese frosting
1 small container of fresh blueberries
1 lemon
1/2 tbsp cornstarch
2 tbsp of sugar
1 tbsp of flour

Grease and lightly flour a 9x12 baking pan (or 2 8 inch rounds if you prefer). 
Prepare cake mix as directed on the box.  (I use just a tad more oil than it calls for).
Pour the cake batter into your baking pan(s).  Set aside.
In a separate bowl mix 1/2 of your blueberries with the flour - just getting a light coating of flour on the blueberries.  This will keep them from immediately sinking to the bottom of the cake when you bake it.
Drop the blueberries one by one into your cake batter.  There is no right way to do this - just try to distribute them evenly.
Bake according to the boxed mix. 

While your cake is baking, in a small bowl mix the 2 tbsp of sugar and 1/2 tbsp of cornstarch.  Mix well and set aside.  Heat a sauce pan over medium-high heat and throw in the rest of your blueberries and crush them with a fork.  As the blueberries begin to heat, add the sugar/cornstarch mixture to the crushed berries and stir well.  (taste the mixture to see if this is sweet enough for you - if not - now would be a good time to add more sugar!)  Remove the pan from heat as the mixture starts to thicken.  Set aside.  (Want to save even more time - just pick up some blueberry jam from your grocery store and use 1/2 cup of that instead!)

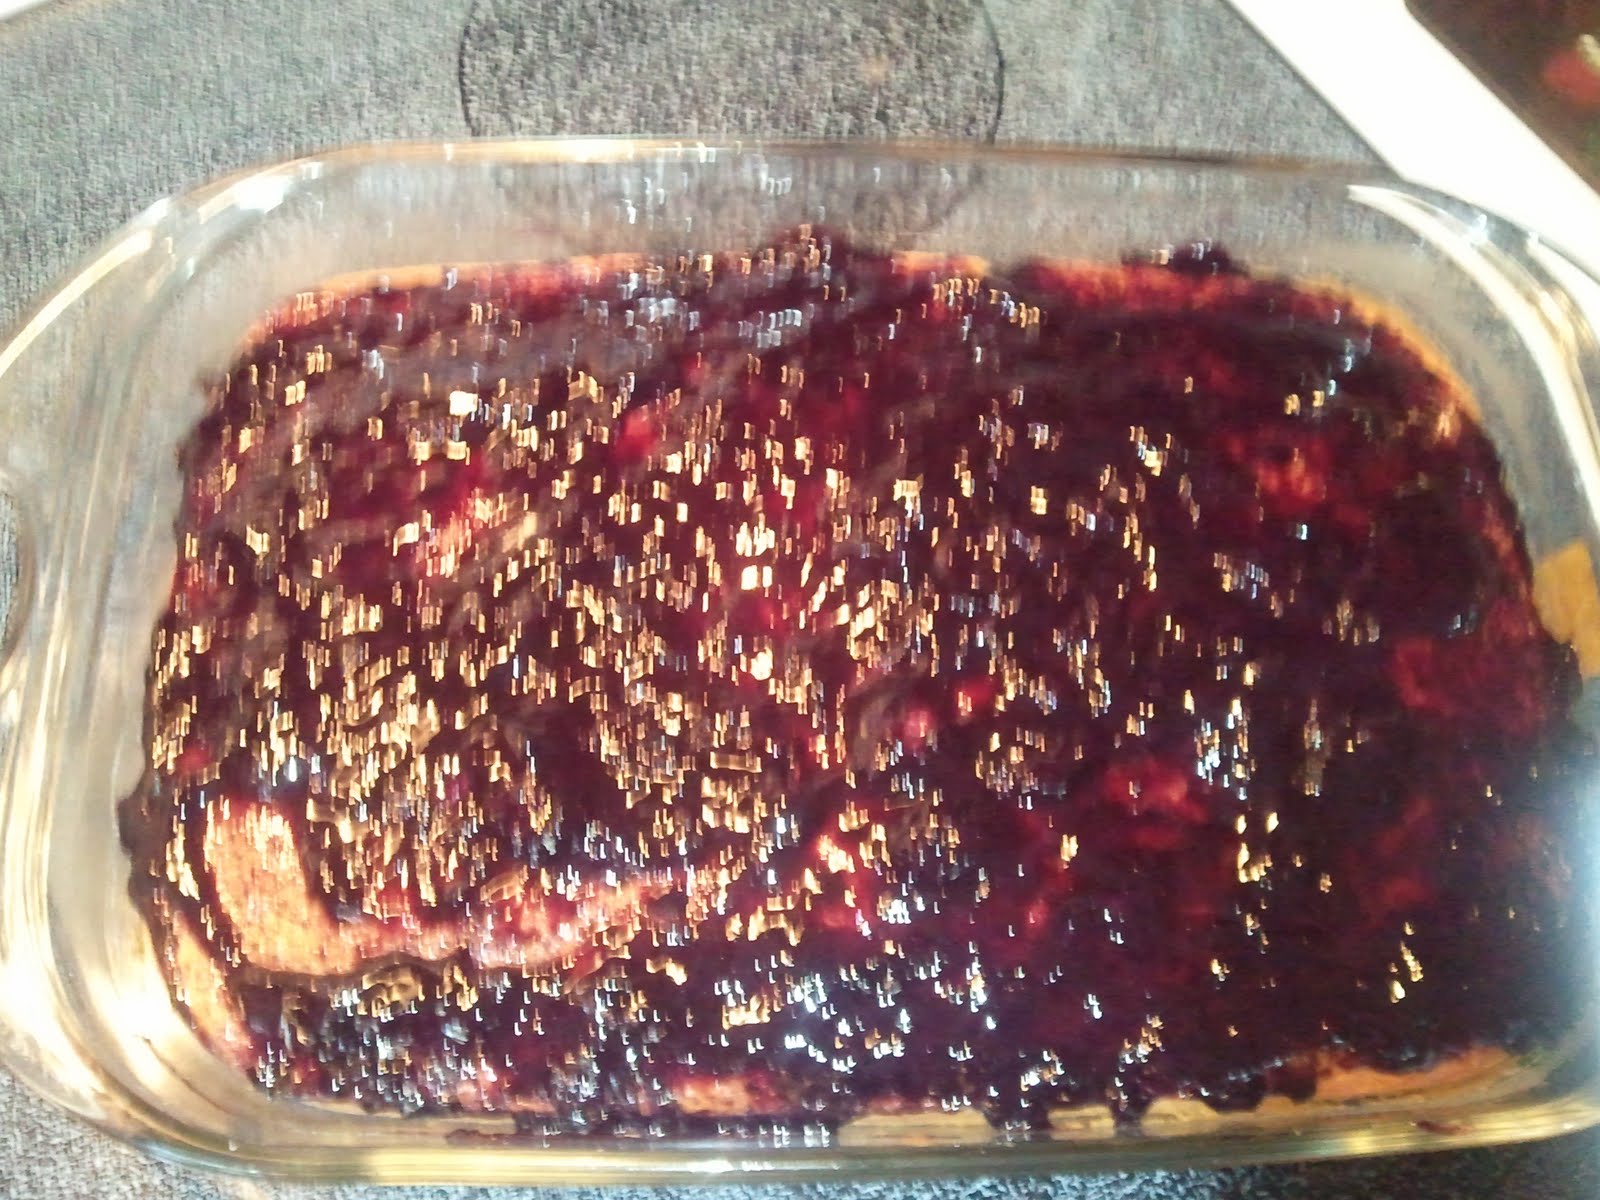
When you believe your cake is done make sure to insert a knife or fork in the cake to make sure it is done - as I had to bake mine for about 10 more minutes than the box called for.  Let the cake cool.  When the cake has cooled spread the blueberry mixture on top of the cake (dumping the entire mixture in the middle and spreading it out from there).

Now you are ready to make your lemon cream cheese icing.  In yet another bowl add the zest of one lemon.  Then add your cream cheese icing and mix well.

Now ice that cake!  Dump all of the icing in the middle of the cake and spread out carefully from there.  The blueberry mixture will start to mix with the icing if you aren't careful with your icing - though a little blue color looks neato!  =).


This is one of my favorite cakes!!  My husband keeps going back to the fridge to "square off corners" - haha!  Adios summer =(  But welcome to all of the yummo fall recipes to come!

What will YOU scratch out of the box today?

Comments, questions or suggestions?  Let me know by posting a comment below or find Scratched Right Out of the Box on Facebook!


Friday, September 2, 2011

ALMOST Too Pretty To Eat Apple Pie

I'm gettin the fall "itch" so I see lots of fall recipes coming up! We have a neighbor that regularly gives us fresh produce.  Yesterday she dropped by with a bag of corn - she's been feeding us all summer!  It has been wonderful!  Last week she brought us some apples - clearly I HAD to make an apple pie!  As I was putting everything together I remembered that my AWESOME little sister and her husband bought me some decorative pie dough cutters for Christmas last year - so I put them to good use!  When my husband saw this pie he said "Awwww... this is ALMOST too pretty to eat!" 

WHAT WILL I NEED?

2 ready made refrigerated pie crusts
6 medium sized apples
2 tbsp all purpose flour
2 tbsp lemon juice or lemonade
3/4 cup of sugar
Cinnamon and Nutmeg to taste

WHAT DO I DO NOW?

Peel and core the apples and then cut them into bite sized chunks, placing the chunks in a large bowl.
Add the sugar.  Mix well.
Add the flour and the lemon juice or lemonade (I used lemonade). Mix well.
Add some cinnamon and nutmeg.  Start with a tsp of cinnamon and a dash of nutmeg and add from there based on your own preference.  Mix well.
Line a deep dish pie plate with one of the crusts. If you do not plan to line the outer edges with cutouts, then go ahead and fold the extra dough under itself and smoosh/pinch the edges with your fingers or a fork.
Pour in your apple mixture.  (Sound like too much for you or you just don't have the time to peel, core and slice apples?  Use 2 cans of Comstock Apple Pie Filling instead!!  The filling is ready made so no need to add anything... except maybe some cinnamon and a little sprinkle of sugar - pour it into your pie shell and skip to the following steps)
If you would like to make a decorative crust, but do not have pie dough cutters just use some cookie cutters and place the cutouts all over the pie - leaving some spaces throughout for the apples to "breathe". 
Bake the pie according to the pie crust packaging for a double crust pie.  Bake for 20 minutes.  Remove the pie and cover the edges with tin foil (so that the edges don't burn).  Bake for another 20-25 minutes or until the apple mixture is bubbling and the crust in the middle of your pie is golden brown.
Cool and serve plain or with a scoop of vanilla ice cream!!


What will YOU scratch out of the box today?

Comments, questions or suggestions?  Leave a comment below - or find Scratched Right Out of the Box on Facebook.

Wednesday, August 31, 2011

Melt in Your Mouth Enchiladas!!

I scream, you scream, we all scream for... enchiladas??  You will after you taste these! 

WHAT WILL I NEED?

1 lb of lean ground beef (you may us the ground meat of your choice - like 99% fat free chicken - but the beef really does make this dish more flavorful)
1 can of cheddar cheese soup
1 small can of mild enchilada sauce
1/2 cup of chopped onions
1 small can of mushrooms (you can use fresh mushrooms - but sautee them first)
1 packet of mild taco seasoning mix
8 flour tortillas (I used La Banderita Fat Free)
3/4 cup shredded 2% cheddar cheese

WHAT DO I DO NOW?

Preheat your oven to 375 degrees
Spray a large baking dish with non-stick spray
Brown your meat.  Once meat is browned add the chopped onions and the canned mushrooms. 
Cook for a few minutes to allow the onions and mushrooms to cook.
Add the taco seasoning mix and stir well.
Add the cheddar cheese soup.
Allow the mixture to cook for a few minutes, or until the cheddar cheese soup is bubbling.
Time to fill your tortillas!
Fill your tortillas one by one, using even amounts of your meat mixture. 
Fold each filled tortilla burrito style and place them seam side down in your baking dish.
I can usually fit 6 filled tortillas side by side and then I place my last two at the top.  See photo.
Pour the entire can of enchilada sauce over the filled tortillas.
Sprinkle with shredded cheese.
Bake for about 30 minutes, or until cheese is melted and enchildada sauce is bubbling.


Serve with mexican rice over a bed of lettuce.  My family loves tostitos - so we typically have some chips and salsa with this meal.  This is a staple meal in my house!

One reader asked if I would post calorie counts - and though I probably won't be able to calculate them every time - I did calculate the calories for this meal!  269 calories per enchilada (keep in mind that I used fat free tortillas, 2% shredded cheese and lean beef - if you use different items the calorie count will change)

What will YOU scratch out of the box today?

Comments, questions or suggestions?  Leave a comment below or find Scratched Right Out of the Box on Facebook!

Monday, August 29, 2011

Dip Me, Please!

Need a crowd pleasing appetizer?  Labor Day is coming right up and I'm sure cookouts will be on the agenda for many of you.  Here's an appetizer that will please adults and children alike (I know - I tried it out on my friends this weekend!).

WHAT WILL I NEED?

1 cup of ricotta cheese
2 cups of sour cream
1 packet of italian seasoning/dressing mix
3/4 cup of mozarella cheese
1 small package of sliced pepperoni

WHAT DO I DO NOW?

In a mixing bowl combine the ricotta cheese, sour cream, and italian dressing mix.  Stir well.  Transfer your mixture to a small baking dish and top with the mozarella cheese and top with enough pepperoni slices to cover the top of the dip.  Bake at 350 degrees for 30 minutes or until the pepperoni is cooked and the cheese is bubbling.  Serve your dip with chips or garlic bread sticks. 


This dip was a hit with my friends and my daughter was disappointed that we didn't have any to bring home.  This recipe made quite a bit and both of my serving bowls were scraped clean.  ENJOY!
(This recipe adapted from www.allrecipes.com)

What will YOU scratch out of the box today?

Comments, questions or suggestions?  Let me know by commenting below or find Scratched Right Out of the Box of Facebook.

Friday, August 26, 2011

Put Your Money Where Your Mouth Is!!!

Need to stretch your spaghetti into several DIFFERENT meals instead of eating spaghetti for an entire week?  Here are some great options to choose from:

First night - spaghetti - obviously!  =)  Store your meat sauce and spaghetti noodles in separate containers.

Second night - Sloppy Joes with the spaghetti meat.  My daughter and I had these last night - YUMSKI, people!!!  Toast some buns, heat up your spaghetti sauce and load it onto the toasted buns (or regular bread if that is what you have), top with a slice of cheese.  If you want more of a sloppy joe flavor - just add a touch of ketchup.  =)  Serve with french fries, salad, chips, you name it!!

Third night - stirfry!  Sautee your leftover spaghetti noodles in some olive oil and soy sauce.  Toss in some sauteed veggies (whatever you have around - frozen, fresh - doesn't matter!), add some chicken, shrimp, pork or perhaps some steak tips and any oriental style sauce you have - teriyaki is best, but adding a little more soy sauce and some ground ginger will work.  Ta-da!!!  You have an AWESOME stirfry meal.

What will YOU scratch out of the box tonight?

Questions, comments or suggestions - let me know below - or find Scratched Right Out of the Box on Facebook!

Wednesday, August 24, 2011

Caketastic!

This tye dye cake is so fun it must be called Caketastic - yeah, I know it isn't a word, but it's fun!!  =)  I am posting this cake "how to" because I have been asked about it several times since I made it.

WHAT DO I NEED?

Any white cake mix (I use FUNfetti!)
Ingredients listed on back of cake box (eggs/vegetable oil)
Food coloring
6 bowls

WHAT DO I DO NOW?

Prepare your cake mix and grease/flour your cake pan(s) as directed on the box. Separate the cake mix evenly into 6 bowls. Add food coloring to each bowl. Make the colors very vibrant. I make green, blue, purple, orange, yellow and red - but you could go with pastel colors or neon colors (you can find these in your grocery store or craft store). Now you can start adding the colors to your cake pan or pans. This cake can be made as a layer cake or a sheet cake - I have done both. The trick is to use a spoon and add the batter by the spoonful to the CENTER of the pan only. Do not pour the batter into the pan. Once you have completely added one color by the spoonfuls to the center of the pan, start with the next color adding that color by the spoonful to the center of your first color. If baking a sheet cake repeat with all colors. The batter will spread out to all colors of the pan by the time you are done. If baking a layer cake use three colors per pan. Bake as directed. Allow the cake or cakes to cool. Remove them from the pans and stack and/or ice them. Everyone will get a big surprise when they cut into this cake - lots of ooooos and ahhhhs!! =) This is a fun/easy cake to make that is VERY pleasing to the eye and a great conversation starter! 


Have comments, questions, suggestions, or a recipe you want me to try?  Let me know by commenting below.

Did you know Scratched Right Out of the Box has a Facebook Page!?

Monday, August 15, 2011

BERRY Delicious... The Easiest Pie I've EVER made!

I think I've mentioned before that my husband LOVES fruity desserts. This pie is FULL of fruit!!  I make this pie often for that very reason (and the fact that it is so easy).  If he could, my husband would sit down and eat an entire pie - yep, he loves it THAT much.  If you like berries - this recipe is for you - you'll love this pie!

WHAT WILL I NEED:

1 pre-made refrigerated pie crust
2 packages of frozen mixed berries
4 tbsp of cornstarch
1 cup of sugar

WHAT DO I DO NOW?

Preheat your oven to 450 degrees.  Roll out your pre-made pie crust into a pie plate.  Tuck any extra dough at the edges under and press the edges of your pie shell with a fork or use your fingers to flute the edges.  Bake for 10-12 minutes or until golden brown.  Allow to cool completely. 

Mix the sugar and the cornstarch together in a small bowl.  Mix well and set aside. 

In a sauce pan heat one package of the frozen berries over medium-high heat.  As the berries start to thaw, "mush" (love that word) them with a fork so that you have mostly berry skins and juice (uh, yummy!).  When you have "mushed" all of the berries and they are bubbling add the sugar/cornstarch mixture.  Mix well.  Remove from heat and add the second package of frozen berries as they are.  Mix the berries well (no mushing this time).  Add your berry mixture to the baked (and cooled) pie shell.  Refrigerate for several hours to allow the berry mixture to thicken.  Serve with whipped cream.  Easy, cheap, delicious. 

**For my calorie counting friends, reduce the sugar in this recipe to 1/2 a cup (still tastes great and you've saved a lot of cals!)**  I do plan to have calorie counts up for my recipes soon... so stay tuned.  =)

Have comments, questions or suggestions?  Let me know by leaving a comment below!!